



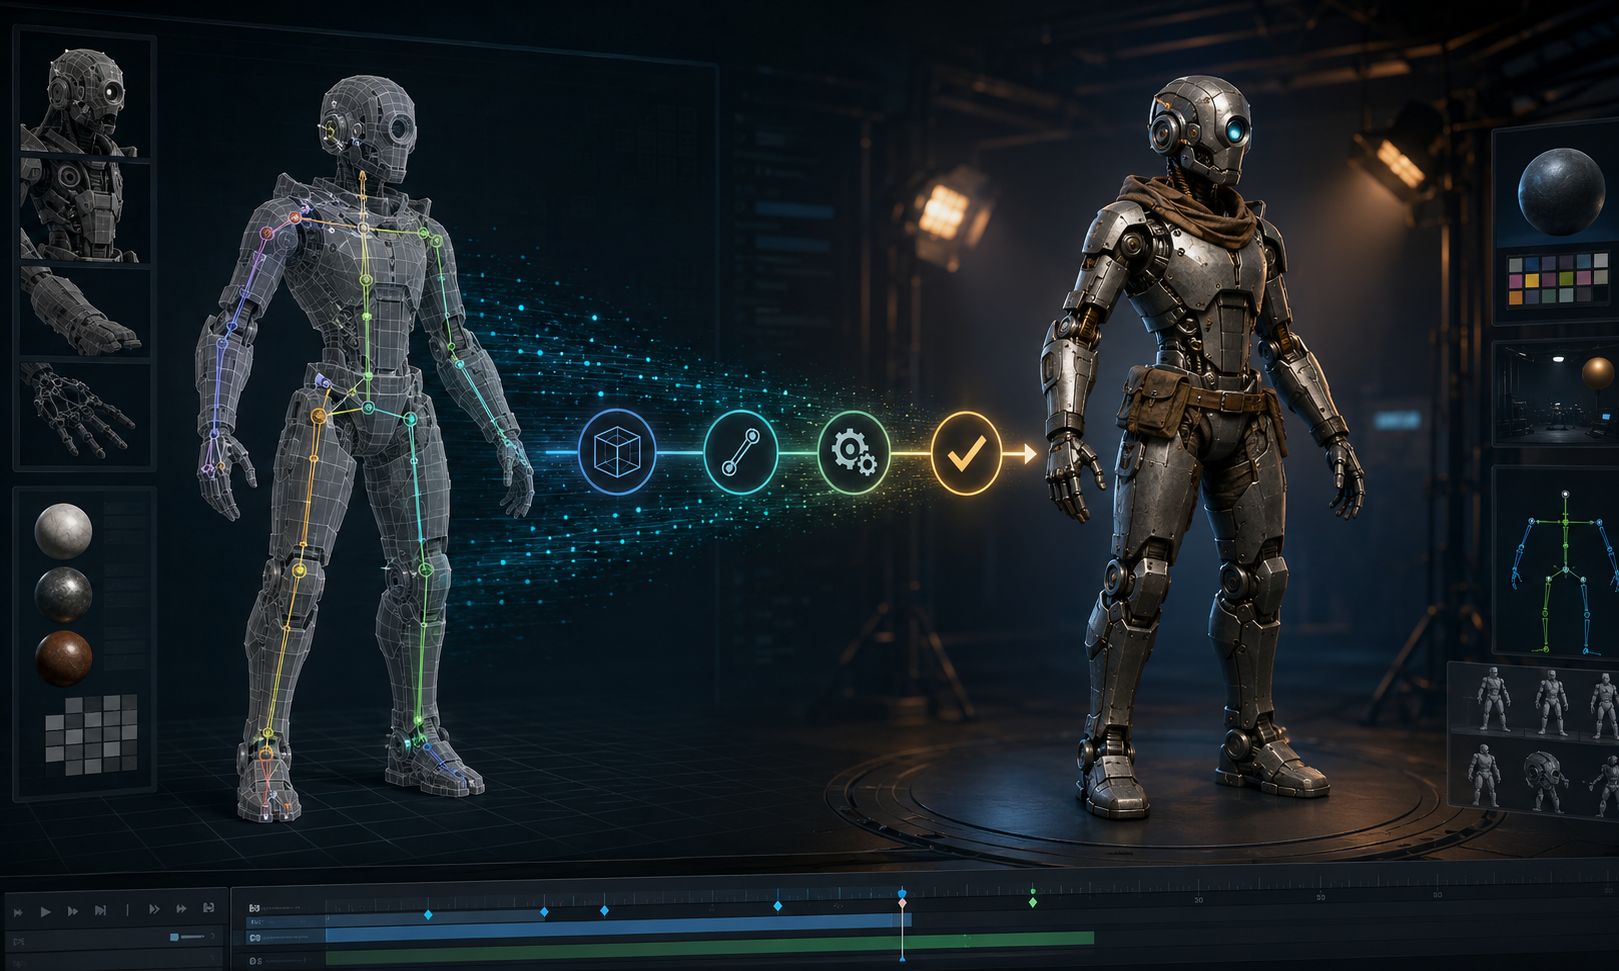
Finishing a model in Blender feels like the hard part—until you try to open it in Source Filmmaker and nothing appears. The reason is simple: SFM cannot use a .blend project or an ordinary FBX file as a finished in-engine model. It needs a set of compiled Source Engine files built from compatible exports and a QC script.
If you are learning how to compile a SFM model, the full process can look more complicated than it really is. You prepare the mesh, export it as SMD or DMX, create Source materials, write a QC file, and let StudioMDL build the model. Crowbar makes the compiler easier to use, while HLMV helps you catch problems before you open a full SFM session.
The dependable workflow for the original Source Filmmaker looks like this:
Blender model → SMD or DMX export → QC file → StudioMDL → MDL, VVD, and VTX files
This guide covers that legacy Source Engine model compilation process. Source 2 Filmmaker uses a different asset pipeline, so its model tools and formats should not be mixed with the steps below.
Why a Model Must Be Compiled Before SFM Can Use It
Modeling, exporting, and compiling are three separate jobs.
In Blender, Maya, or 3ds Max, you create the mesh, UV layout, skeleton, weights, shape keys, and animation. Exporting turns that editable project into a format understood by Source tools, most commonly SMD or DMX. Compiling then combines the exported model data with instructions from a QC file and produces the binary files SFM can load.
The QC file is best understood as a build sheet. It tells the compiler:
- What the finished model should be called
- Which exported mesh to use
- Where SFM should look for its materials
- Which animation sequences to include
- Whether the asset is a static prop, character, or multi-part model
- Whether it needs bodygroups, skins, attachments, flexes, or collision data
Valve’s model documentation identifies StudioMDL as the tool that converts files exported from a modeling package into the MDL format used by Source. The visible .mdl file is only one part of the result. Most models also need files such as .vvd and .vtx, which carry vertex and optimized mesh data.
That is why copying only an MDL into SFM often fails. A working Source Filmmaker model is usually a small family of files sharing the same base name.
Tools You Need to Compile a Model for Source Filmmaker
Blender or another 3D modeling program
Blender is the most accessible choice for making a custom SFM model because it is free and supports community-built Source export tools. You can also use Maya or 3ds Max if you already have a compatible exporter. SFM itself is primarily an animation and filmmaking tool; it is not designed for creating or repairing polygonal meshes.
Blender Source Tools
Blender Source Tools adds SMD and DMX import and export support to Blender. It bridges the gap between the .blend project and the Source toolchain.
Use it to export:
- The reference mesh and skeleton
- Separate bodygroup meshes
- Animation sequences
- DMX data for supported facial-flex workflows
A raw FBX can still be useful for moving a model between 3D programs, but the standard Blender-to-SFM workflow normally converts the finished asset to SMD or DMX before compilation.
StudioMDL
StudioMDL is Valve’s actual model compiler. In a typical SFM installation, it is found inside:
Steam\steamapps\common\SourceFilmmaker\game\bin\studiomdl.exe
StudioMDL reads the QC and creates the engine-ready model files. You can run it from a command prompt, through a batch file, or from another program that supplies the correct game path and QC file.
Crowbar
Crowbar provides a convenient interface for compiling and decompiling GoldSource and Source models. For beginners, its most useful feature is the readable compile log. You can select the target game, choose a QC file, run the compile, and see exactly which file or command caused a failure.
Crowbar does not replace StudioMDL. It makes StudioMDL easier to configure and run.
A texture converter and plain-text editor
Source model textures normally use VTF texture files controlled by VMT material files. VTFEdit is the traditional tool used to convert PNG or TGA images to VTF, although compatible community alternatives also exist.
Any plain-text editor can create QC and VMT files. VS Code, Notepad++, or even Windows Notepad will work, provided the file is saved with the correct extension instead of .txt.
Half-Life Model Viewer
HLMV, or Half-Life Model Viewer, is the fastest place to inspect a compile. It can reveal incorrect scale, missing materials, broken bones, bad flexes, and faulty animation sequences without requiring you to build an SFM scene first.
Files Used During SFM Model Compilation
The similar names can be confusing at first, so it helps to separate source files from finished files.
| File | Role in the workflow |
|---|---|
.blend | Editable Blender project; SFM does not load it directly |
.smd | Common export format for meshes, skeletons, and animations |
.dmx | Source data format often used for richer model and flex workflows |
.vta | Vertex-animation data used in some SMD facial-flex setups |
.qc | Plain-text instructions read by StudioMDL |
.vtf | Texture image in Valve Texture Format |
.vmt | Material definition that points to textures and controls the shader |
.mdl | Main compiled model file |
.vvd | Compiled vertex data |
.vtx | Optimized mesh data, commonly including a .dx90.vtx file for SFM |
.phy | Optional physics or collision data |
.ani | Optional externally stored animation data |
The compiler does not normally package your VMT and VTF files inside the MDL. Models and materials are installed in separate folders, and the paths recorded in the QC and VMT connect them at runtime.
Set Up a Clean SFM Model Folder Structure
Keep editable source files away from installed game content. A simple working folder might contain:
my_sfm_project/
├── blender/
├── exports/
├── qc/
└── textures/
Your finished files can then be installed under SFM’s usermod folder.
Compiled models:
SourceFilmmaker\game\usermod\models\yourname\project\
Materials and textures:
SourceFilmmaker\game\usermod\materials\models\yourname\project\
Use a unique creator and project path instead of dropping custom files loosely into models or materials. This lowers the risk of overwriting Valve content or colliding with another Workshop asset.
Two QC commands control most of this structure:
$modelnamesets the output path relative to the game’smodelsfolder.$cdmaterialssets one or more material-search paths relative to the game’smaterialsfolder.
For example:
$modelname "yourname\project\robot.mdl"
$cdmaterials "models\yourname\project\"
The first line targets models\yourname\project\robot.mdl. The second tells the model to look under materials\models\yourname\project\ for its VMT files. Valve’s $cdmaterials reference confirms that these search paths are relative to the game’s materials directory.
Incorrect relative paths are among the most common causes of an SFM model not appearing or showing purple-and-black textures.
Step 1: Prepare the Model in Blender
Decide what kind of model you are building
A static chair, weapon, or background prop needs fewer settings than a character with a skeleton, facial controls, and interchangeable clothing. Start with a simple prop if this is your first SFM model compile. Once that works, the same basic pipeline can be extended with bones, animations, bodygroups, and flexes.
Clean the mesh
Before exporting:
- Remove accidental duplicate geometry and unused objects.
- Recalculate or correct reversed normals.
- Check for non-manifold areas that may cause shading or export problems.
- Apply scale and rotation transforms.
- Place the origin and root bone where they make sense for posing.
- Confirm that the model is facing the expected direction.
Scale problems are easier to correct in Blender than through repeated QC adjustments. A model that is tiny, enormous, sideways, or buried in the floor usually points to unapplied transforms, inconsistent units, or an incorrect export axis.
Check UVs and material assignments
Every visible surface should have a valid UV map and an assigned material. Give materials short, predictable names such as robot_body, robot_glass, and robot_emissive.
Avoid names with unnecessary spaces, image extensions, or inconsistent capitalization. The exported model records material names, and StudioMDL later uses those names to locate matching VMT files. A model can compile successfully even when that relationship is wrong, but SFM will display the familiar checkerboard material.
Inspect the skeleton and weights
For a rigged SFM character, make sure:
- The hierarchy has one sensible root.
- Every deforming vertex has a valid weight.
- Unused bones are removed when safe.
- Bone names remain unchanged between the reference mesh and animation exports.
- The reference pose is consistent across every exported file.
Bones do not have to use Valve names simply to compile. Valve-style naming becomes valuable when you want compatibility with familiar SFM rig scripts, biped controls, or animation-transfer workflows.
Plan animations and facial flexes
Decide which animation clips will be separate sequences. A character may have an idle sequence even if most posing will happen inside SFM.
For facial animation, choose the export method early. DMX can carry supported shape-key and flex information, while some SMD workflows use a separate VTA file with additional QC commands. Eyes, flex rules, corrective shapes, and procedural bones make the QC more specialized, so establish a working body compile before adding them.
Step 2: Export the Model as SMD or DMX
When to use SMD
SMD export is a practical choice for:
- Static props
- Basic reference meshes
- Skeletons
- Separate animation clips
- Simple bodygroups
It is widely documented and easy to inspect as text, which makes it useful when troubleshooting a first compile.
When to use DMX
DMX export can be a better option when the model needs supported shape keys, flex data, or a workflow that benefits from DMX’s richer structure. It is not automatically better for every asset; a basic prop gains little from the added complexity.
Export the reference and animation files
Export the main reference mesh first. If the model has detachable or selectable parts, export those parts as separate files for use in $bodygroup blocks. Export each animation as its own SMD or DMX unless your chosen workflow deliberately combines them.
Keep filenames simple and make sure the names used in the QC match them exactly:
robot_reference.smd
robot_idle.smd
robot_wave.smd
robot_hat.smd
If StudioMDL reports that it cannot open an SMD or DMX, check the filename, extension, quotation marks, and path before changing anything in the model.
Step 3: Convert and Install the Textures
Convert your source images to VTF and place them in:
SourceFilmmaker\game\usermod\materials\models\yourname\project\
Create a VMT for each material name requested by the exported mesh. Most ordinary model surfaces use VertexLitGeneric, the common Source shader for models.
A minimal VMT looks like this:
"VertexLitGeneric"
{
    "$basetexture" "models/yourname/project/robot_body"
}
The $basetexture path is relative to the materials folder and normally omits the .vtf extension. The example points to:
materials\models\yourname\project\robot_body.vtf
You can add other parameters when the asset needs them:
"VertexLitGeneric"
{
    "$basetexture" "models/yourname/project/robot_body"
    "$bumpmap" "models/yourname/project/robot_body_normal"
    "$phong" "1"
}
Transparency, self-illumination, phong settings, and normal maps each require suitable VMT parameters and correctly prepared texture channels. Add those features one at a time so you know which change caused a visual problem.
The most important naming rule is this: the material name stored in the SMD or DMX must lead to the correct VMT filename. Renaming only the VTF does not repair a mismatched exported material.
Step 4: Write the QC File
A SFM QC file is plain text. It is not application code, and a simple model may need only a few commands.
Minimal QC for a static prop
$modelname "yourname\project\wooden_crate.mdl"
$body "body" "wooden_crate.smd"
$staticprop
$surfaceprop "wood"
$cdmaterials "models\yourname\project\"
$sequence "idle" "wooden_crate.smd" fps 1
Here is what each line does:
$modelnamechooses the compiled filename and output folder.$bodysupplies the reference mesh.$staticpropmarks the model as having no intended moving parts.$surfacepropassigns a physical surface type used by Source systems.$cdmaterialsprovides the material-search folder.$sequencegives the model a basic idle sequence using the reference export.
Do not add $staticprop to a model that needs an articulated skeleton.
Compact QC for a rigged character
$modelname "yourname\project\robot_character.mdl"
$model "robot" "robot_reference.smd"
$surfaceprop "metal"
$cdmaterials "models\yourname\project\"

$sequence "idle" "robot_idle.smd" {
    fps 30
    loop
}
$body works for many simple reference meshes, including rigged ones. $model is commonly used when a complex model needs options such as eyes or certain VTA-based flex configurations. The commands should not be treated as interchangeable in every facial-animation setup.
Useful commands for more advanced models
As the asset grows, the QC may also include:
$bodygroupfor optional or interchangeable mesh parts$texturegroupfor alternate material skins$attachmentfor named attachment points$collisionmodelor$collisionjointsfor collision data$mostlyopaquefor models that mix opaque and translucent materials- Eye, flex, jiggle-bone, or procedural-bone directives
Add advanced blocks only after the minimal model compiles. When ten features are introduced at once, the compiler log becomes much harder to interpret.
Step 5: Compile the Model with Crowbar or StudioMDL
How to compile an SFM model with Crowbar
Open Crowbar and go to the Compile tab. Then:
- Select or configure Source Filmmaker as the target game.
- Confirm that the game path points to the intended SFM content folder, commonly
SourceFilmmaker\game\usermod. - Select your QC file.
- Choose the appropriate output option for your setup.
- Start the compile.
- Read the entire Crowbar compile log, including warnings above the final line.
A successful compile should create files with a shared base name, such as:
robot_character.mdl
robot_character.vvd
robot_character.dx90.vtx
It may also produce other VTX variants, PHY data, or ANI data depending on the model and compiler branch.
If the compile says it succeeded but you cannot find the model, inspect the $modelname value and Crowbar’s selected game configuration. The files may have been written to another Source game or content folder.
Compile directly with StudioMDL
Running StudioMDL yourself can make path problems easier to see. A typical command follows this pattern:
"C:\Program Files (x86)\Steam\steamapps\common\SourceFilmmaker\game\bin\studiomdl.exe" ^
  -game "C:\Program Files (x86)\Steam\steamapps\common\SourceFilmmaker\game\usermod" ^
  "D:\SFM_Source\robot\robot.qc"
Replace the example paths with your actual Steam library and project locations. Keep paths containing spaces inside quotation marks.
StudioMDL reads $modelname from the QC and writes the compiled files beneath the target game’s models directory. Running SFM’s SDK tools at least once can also help establish the game configuration expected by the included utilities.
Step 6: Test the Compiled Model
Inspect it in HLMV
Load the MDL in the HLMV associated with your SFM installation. Check:
- Overall scale and orientation
- Materials and texture paths
- Bone hierarchy and deformation
- Animation sequences
- Skins and bodygroups
- Facial flexes and eyes
- Attachments and model bounds
The materials panel is especially helpful when fixing missing textures in SFM because it shows the material names the model is trying to load. Compare those names with your VMT filenames and $cdmaterials path.
Load it in Source Filmmaker
Open a simple session and create an animation set for the new model. If it does not appear in the SFM model browser, use the browser’s rescan option and confirm that the compiled files are inside a content path SFM is actually mounting.
Pose a few bones, test facial controls, and play each sequence. Watch the SFM console for missing model or material messages. HLMV proves that the compile is structurally sound; SFM testing proves that the asset behaves properly in the environment where you will animate it.
Common SFM Model Compilation Errors and How to Fix Them
Crowbar cannot find StudioMDL
The selected game configuration is usually wrong or incomplete. Confirm the Source Filmmaker installation path and make sure Crowbar is using SFM’s compiler rather than the compiler from another Source game. If necessary, launch the SFM SDK once and review the paths in Crowbar’s game setup.
StudioMDL cannot open an SMD or DMX
Check the filename written in the QC against the real export. Look for:
- A misspelled name
- A hidden
.txtextension on the QC - Missing quotation marks around a path containing spaces
- An export saved to a different folder
- An SMD referenced as DMX, or the reverse
Do not start changing bones or materials until the compiler can locate the source file.
The model compiles but does not appear in SFM
Check $modelname first. It should describe a path below models, not an absolute Windows location. Next, confirm that the compile target is the same SFM game folder you are using. Rescan the model browser after installing new files.
Also verify that the MDL, VVD, and required VTX files are together. Copying only the MDL can leave SFM without the vertex and mesh data it expects.
The model is invisible or appears as an error
Review the compile log for a missing reference mesh or failed sequence. Confirm that the QC contains a valid $body, $model, or bodygroup entry and that the companion files were generated.
An invisible model can also come from reversed normals, extreme scale, incorrect bounds, or a root position far away from the visible mesh.
The model has purple-and-black checkerboard textures
This is a material-path problem, not usually a mesh-compilation failure. Check the full chain:
- What material name is stored in the SMD or DMX?
- Does a VMT with that name exist?
- Is the VMT inside a folder searched by
$cdmaterials? - Does
$basetexturepoint to the correct VTF path? - Is the VTF actually present under
materials?
Use HLMV or the SFM console to identify the exact missing path instead of guessing.
The model is too large, tiny, rotated, or underground
Return to Blender and apply transforms. Check the export scale, axis orientation, object origin, armature position, and root bone. Fixing the source project keeps every later animation and recompile consistent.
The mesh stretches when bones move
Inspect weight painting for unweighted vertices, unintended influences, or abrupt transitions. Make sure the reference mesh and every animation use the same skeleton hierarchy and bone names.
If a bone was renamed, removed, or re-parented after exporting an animation, export the affected files again from a consistent version of the rig.
StudioMDL reports a material, bone, or vertex-limit error
The original Source pipeline has strict limits, and exact behavior varies by engine branch and compiler build. Follow the error named in your own compile log rather than applying a random limit from a tutorial for another Source game.
Typical fixes include:
- Removing unused bones
- Reducing unnecessary bone influences
- Splitting a complex mesh into sensible parts
- Combining or simplifying material slots
- Reducing geometry where it exceeds the compiler’s supported structure
The compile succeeds, but changes do not show
SFM may still have the old model loaded. First inspect the new compile in HLMV. In SFM, remove and recreate the animation set, rescan the model browser, or restart the application if the cached asset remains.
During testing, you can temporarily change $modelname and load the recompiled model as a separate asset. This makes side-by-side comparison easy. Delete test copies and restore the final path before release.
A Faster Blender-to-SFM Testing Workflow
Compiling becomes much less frustrating when each test answers one question.
- Start with one mesh, one material, and one idle sequence.
- Confirm that the basic model works before adding bodygroups or flexes.
- Compile after one meaningful change rather than ten unrelated edits.
- Use HLMV before opening a full SFM scene.
- Keep a copy of every QC that compiles successfully.
- Save compiler logs when an error is difficult to reproduce.
- Use a new
$modelnametemporarily when checking cached changes. - Keep the Blender project, exports, QC, VMTs, and source textures backed up together.
Crowbar can also decompile models for inspection. Only decompile assets you are legally allowed to study or modify, and do not redistribute protected content. A working model can teach you useful folder and QC patterns without becoming a template for copying someone else’s work.
Pre-Compile and Post-Compile Checklist
Before compiling
- Mesh scale and rotation are applied.
- Normals, UVs, and material assignments have been checked.
- The skeleton hierarchy and weights are consistent.
- The reference mesh and animations use the same bone names.
- SMD or DMX exports exist at the paths used in the QC.
$modelnameand$cdmaterialsuse correct relative paths.- VMT filenames match the materials requested by the export.
- VMT files point to the correct VTF textures.
After compiling
- The MDL, VVD, and required VTX files exist together.
- The model was written to the intended
usermod\modelspath. - Materials are installed under the matching
usermod\materialspath. - HLMV displays the model at the correct scale and orientation.
- Textures, bones, sequences, skins, bodygroups, and flexes work as expected.
- The model appears in SFM and can be posed without errors.
Questions Readers Ask Before Their First Compile
How to make your own SFM model?
Create or edit the mesh in Blender, unwrap its UVs, assign materials, and rig it if it needs to move. Export the reference model and animations as SMD or DMX with Blender Source Tools. Convert the textures to VTF, create matching VMT materials, write a QC file, and compile it with StudioMDL—usually through Crowbar. Test the result in HLMV before loading it in Source Filmmaker.
Blender creates the asset; StudioMDL converts that asset into the format used by SFM.
What does SFM compile mean?
SFM compile means turning Source-compatible model exports and QC instructions into binary model files that Source Filmmaker can load. It is an asset-building process, not the same thing as rendering an animation or exporting a finished SFM video.
Is SFM harder than Blender?
They are difficult in different ways. Blender has a broader toolset for modeling, sculpting, rigging, materials, simulation, and animation, so learning the entire program takes time. SFM is narrower and often quicker for posing Source assets and building cinematic shots, but its older file structure and compilation process can feel unfamiliar.
For model creation, Blender does the heavier work. For animating inside Valve’s Source environment, SFM offers the more focused workflow.
What model format does SFM use?
The original Source Filmmaker loads compiled MDL models together with supporting files such as VVD and VTX. SMD and DMX are commonly used before compilation, while VMT and VTF provide the model’s materials and textures.
In short, SMD or DMX is usually the source you compile; MDL is the finished model SFM loads. These formats belong to the original Source pipeline and should not be confused with Source 2 model formats.
