



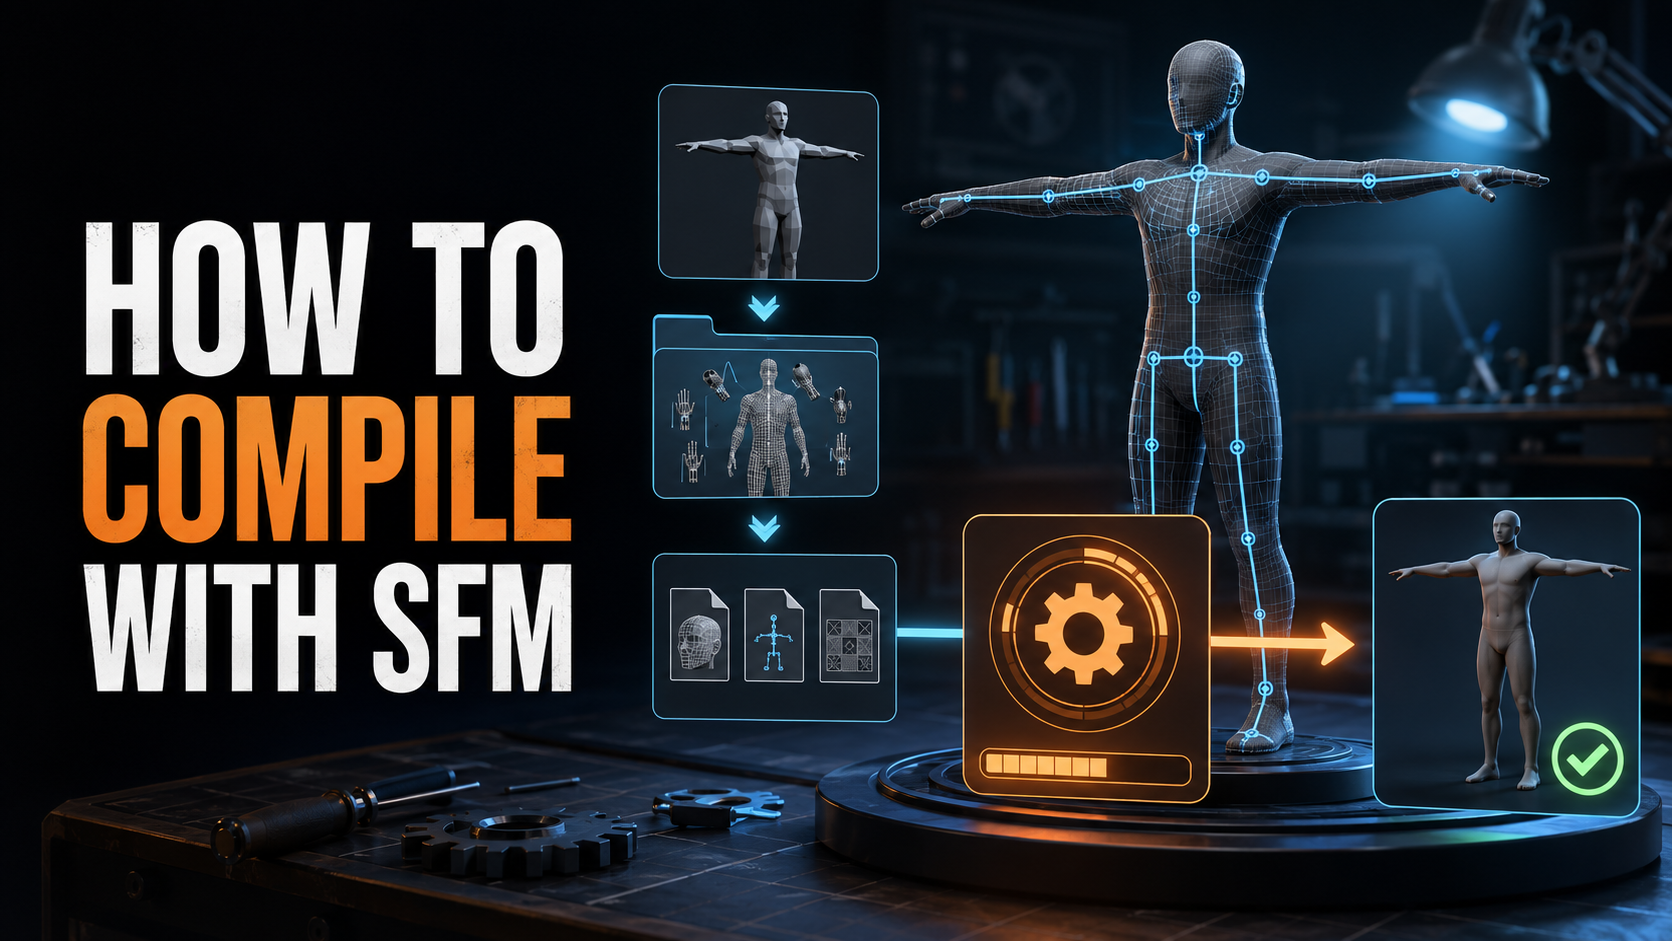
Getting a custom model into Source Filmmaker can feel harder than creating the model itself. You may already have the mesh, textures, and rig ready in Blender, yet SFM cannot open the project file or use a regular FBX or OBJ as a finished asset.
That is where SFM model compilation comes in. If you want to learn how to compile with SFM, the basic process is straightforward: prepare the model in Blender, export it as an SMD or DMX file, create a QC file, run SFM’s StudioMDL compiler through Crowbar, and test the resulting model in Source Filmmaker.
The confusing part is that several tools and file types are involved. Each one handles a different job. Once you understand how those pieces connect, compiling a simple prop becomes much easier, and you have a solid base for more advanced character models, animations, bodygroups, and facial flexes.
How the SFM Model-Compiling Workflow Fits Together
Source Filmmaker uses assets built for the Source Engine. A model in Blender is still editable source content, so it has to be converted into the game-ready format that SFM expects.
A typical Blender-to-SFM workflow looks like this:
- Create or prepare the model in Blender.
- Export the mesh, skeleton, and animations as SMD or DMX files.
- Convert the textures and create Source material files.
- Write a QC file that describes how the model should be assembled.
- Use Crowbar to send the QC and source assets to StudioMDL.
- Place the compiled files in an SFM content folder.
- Load and test the model in SFM.
StudioMDL reads the QC instructions and turns the editable source data into an MDL-based Source model. Valve’s model-compiling documentation describes the QC as the script supplied to StudioMDL along with model source files. Valve Developer Community
This process is different from exporting a finished SFM animation as a video. Compiling a model for Source Filmmaker creates an asset that SFM can load. Rendering or exporting a movie creates the final image sequence or video from an SFM session.
Tools You Need to Compile a Model for SFM
You do not need a huge collection of programs for your first model. A clean setup with a few reliable tools is usually enough.
Source Filmmaker
Source Filmmaker provides the environment in which the finished model will be used. It also includes SFM’s copy of studiomdl.exe, the program that performs the actual compile.
Your compiler configuration should target Source Filmmaker rather than another Source game. Different Source branches can use different model formats and limits, so choosing the correct game setup matters even when another game also has a file named studiomdl.exe.
Blender and Blender Source Tools
Blender is where you create, edit, UV-map, rig, and clean the model. SFM is mainly an animation and filmmaking program; it is not the usual place to build the original mesh.
The Blender Source Tools add-on lets Blender export Source-compatible SMD and DMX files. Valve’s documentation lists both SMD and DMX support among the add-on’s features. Blender Source Tools documentation
An OBJ or FBX can still be useful as an intermediate file when moving a model between 3D programs, but it is not normally the final input used by StudioMDL in this workflow.
Crowbar
Crowbar is a Source Engine modding tool with a graphical interface for compiling and decompiling models. For beginners, its Compile tab is much easier to manage than running StudioMDL manually from a command prompt.
Crowbar helps you choose the game configuration, select the QC, launch the correct compiler, and read the SFM compile log. It does not replace StudioMDL. Crowbar’s own feature description states that it compiles through the model compiler installed with the selected game or SDK. Crowbar tool information
Material and Text-Editing Tools
You also need a plain-text editor for QC and VMT material files. Any editor that preserves plain text will work.
For textures, use a tool that can create VTF files. You can prepare the original images in an image editor, but Source still needs the texture in a format it understands.
Files Used in SFM Model Compilation
The number of extensions can look intimidating at first. They make more sense when you divide them into source files, material files, and compiled files.
SMD and DMX Source Files
SMD and DMX files can store mesh data, bones, and animation information for the Source pipeline. They are source assets rather than finished models that SFM can browse directly.
SMD is an older, widely used format with a relatively simple structure. DMX can carry more complex Source data and is useful in workflows that need features supported by the exporter and target engine. Neither format is automatically the best choice for every project. Use the one that works reliably with your Blender setup and the features your model needs.
A character project may have separate files for the reference mesh, idle sequence, other animations, and physics pieces. A basic static prop may need only one exported mesh and a simple sequence.
The QC File
The QC script is the instruction sheet for StudioMDL. It tells the compiler what to load, where to write the model, which material directory to use, and which optional features belong to the asset.
Common QC instructions include:
- $modelname for the compiled model’s output path;
- $body or $model for the visible reference mesh;
- $cdmaterials for the material search path;
- $sequence for an idle pose or animation;
- $collisionmodel for optional physics geometry; and
- bodygroup, skin, attachment, flex, and level-of-detail instructions for more advanced models.
Valve’s QC reference defines the file as a command script that controls the model-compilation process. Valve QC documentation
You do not need every possible command in your first QC. A smaller file is easier to troubleshoot because fewer settings can go wrong.
VTF and VMT Material Files
A Source material normally uses two related files:
- A VTF file contains the texture image.
- A VMT file tells Source which shader and texture paths to use.
The model’s exported material name needs to match the appropriate VMT filename. The VMT then points to its VTF texture without using an ordinary Windows drive path.
StudioMDL does not pack these materials into the model. They remain separate runtime assets. That is why a model can compile successfully but appear with a purple-and-black checkerboard texture when its VMT, VTF, or material path is missing.
Compiled Model Files
The main result is an MDL file, but it rarely works alone. A normal compiled model also uses companion files such as:
- VVD, which stores vertex data;
- one or more VTX files, which contain optimized mesh information for supported hardware paths; and
- an optional PHY file when compiled physics data is present.
Some models also use external animation data. When moving or sharing a model, keep all files generated for that model together. Copying only the MDL is a common reason a custom asset fails to load.
How to Compile With SFM Step by Step
The safest beginner workflow is to start with a basic prop. Once that compiles and displays correctly, the same process can be expanded for a rigged character.
Step 1: Prepare the Model in Blender
Begin with a clean mesh. Remove duplicate vertices, loose geometry, zero-area faces, and any hidden objects that should not be exported. Check the face normals so the model does not appear invisible from the expected viewing angle.
Apply the intended scale and rotation before export. Also inspect the origin, UV map, and material names. Simple names without unusual symbols are easier to match in the Source material folders.
For a rigged model, check the armature, bone hierarchy, vertex groups, and bone weights. Every deforming vertex should have sensible weights, and the skeleton should be in the correct reference pose. Problems left in the source model will not be repaired automatically by Crowbar.
Step 2: Export the Model as SMD or DMX
Enable Blender Source Tools and set its engine path for your SFM installation when the exporter requires it. Select only the mesh and skeleton needed for the export.
Export the reference model to a dedicated working folder. If the project includes animations, export each required sequence with a clear filename. If physics matters, make a simpler collision mesh rather than using a duplicate of a highly detailed visible model.
Before moving on, compare the exported filenames with the names you plan to use in the QC. A missing letter, space, or extension can stop the compile.
Step 3: Prepare the Textures and Materials
Convert the model’s texture images into Valve Texture Format and create a VMT for each Source material.
Keep the names consistent across all three places:
- The material assigned to the Blender mesh.
- The VMT filename.
- The material path referenced by the VMT and QC.
Place the finished VMT and VTF files inside an enabled SFM content folder, commonly under usermod/materials. Use your own named subfolder so the files do not become mixed with unrelated assets.
Material preparation is separate from geometry compilation. If the model compiles but has missing textures, repeatedly compiling the same QC will not help until the SFM material paths are corrected.
Step 4: Organize the Project Folders
Keep editable source files away from the game-ready output. A simple project structure might separate the Blender file, SMD or DMX exports, QC, collision data, original texture images, and finished VMT/VTF materials.
Inside SFM, compiled model files belong under an enabled models directory. Materials belong under the matching materials directory.
Two path rules cause many beginner mistakes:
- $modelname is normally written relative to the game’s
modelsfolder. - $cdmaterials is normally written relative to the game’s
materialsfolder.
Do not paste a complete drive path into these fields unless a specific tool or instruction explicitly calls for one. Short, consistent project folders make errors easier to spot.
Step 5: Create a Beginner-Friendly QC File
Write the QC in plain text and save it with the .qc extension. For the first compile, include only the information needed to produce a visible model:
- the output model path;
- the reference mesh;
- the material directory; and
- a basic sequence.
Add collision, multiple animations, bodygroups, flexes, attachments, and LODs after the base model works. Building the QC gradually gives you a known-good version to return to if an advanced feature breaks the compile.
Check every quotation mark, slash, filename, and extension. Avoid copying a large character QC and changing only one or two names. That file may contain commands for bones, flexes, physics, or materials your model does not have.
Step 6: Configure Crowbar for Source Filmmaker
Open Crowbar and go to the Compile tab. Select the Source Filmmaker game setup, then confirm that Crowbar points to SFM’s game folder and SFM’s copy of studiomdl.exe.
Choose your QC file and review the output settings. If Crowbar cannot find studiomdl.exe or gameinfo.txt, the selected game configuration or installation path is usually wrong.
Crowbar has supported compiling through a selected game’s StudioMDL for years, including custom output handling and saved compile logs. Its interface is convenient, but the chosen paths still have to be accurate.
Step 7: Run the Compile
Start the Crowbar compile and watch the log. StudioMDL will read the QC, load the named SMD or DMX files, process the model data, and attempt to write the compiled files.
Wait for the process to finish. A successful run should produce the main model and its companion files in the location defined by the project setup and $modelname.
The word “completed” does not prove that every feature is correct. The model may still have warnings, bad materials, broken bone weights, or an incorrect scale. Treat a completed compile as the start of testing.
Step 8: Read Warnings and Errors
If the compile fails, find the first genuine error in the Crowbar compile log. Later messages may only be side effects of that first problem.
Copy the full message and look for a named source file, QC line, material, bone, or animation. Correct one meaningful issue at a time, then compile again.
A warning usually allows StudioMDL to continue, but it should still be understood. Warnings involving discarded geometry, excessive bone influences, missing data, or collision problems can produce a model that loads but behaves badly.
If you change the mesh, skeleton, or animation in Blender, export a fresh SMD or DMX before recompiling. Editing only the QC cannot repair faulty data inside an old export.
Step 9: Verify the Compiled Files
Check the output folder for the expected MDL, VVD, and VTX files. If the model uses compiled physics, look for its PHY file as well.
Make sure all files share the intended base name and were placed under the folder declared by $modelname. An older copy elsewhere in the SFM content paths can make troubleshooting confusing because the program may load stale output.
When replacing an earlier compile, keep a backup of the last working version. That gives you a quick way to compare files and confirm whether a recent change introduced the problem.
Step 10: Load and Test the Model in SFM
Open Source Filmmaker and locate the asset in the SFM model browser. If it does not appear, first check the output path and confirm that the content folder is mounted by SFM.
Inspect the model’s scale, direction, mesh, shading, and materials. For a character, pose the major bones, play its important sequences, and test facial controls, skins, bodygroups, and attachments. For a prop, check its size, pivot placement, materials, and any physics behavior it needs.
When something looks wrong, return to the source of the problem. Fix geometry and rigging in Blender, repair material paths in the VMT or folders, and correct assembly instructions in the QC. Then export and compile again.
Crowbar vs StudioMDL: Which One Actually Compiles the Model?
StudioMDL is the compiler. Crowbar is the interface that prepares and launches it.
This distinction helps when troubleshooting. If Crowbar reports that it cannot find StudioMDL or a game configuration, the setup is wrong before compilation even begins. If StudioMDL starts and then reports a missing SMD, invalid QC instruction, or model limit, the problem is in the source assets or compile instructions.
Most beginners prefer compiling with Crowbar because it makes game selection, file browsing, output handling, and log reading more convenient. Running StudioMDL manually can be useful for automation or advanced workflows, but it does not make an invalid model compile successfully.
Switching from Crowbar to a command line will not fix broken geometry, bad bone weights, missing VMT files, or an inaccurate QC. The underlying source data remains the same.
Common SFM Compile Errors and How to Fix Them
Compile errors often look complicated because the log includes file paths and engine messages. In practice, many failures come from a small group of causes.
StudioMDL or GameInfo Cannot Be Found
Open Crowbar’s game setup and make sure Source Filmmaker is selected. Verify the SFM installation, game folder, gameinfo.txt, and studiomdl.exe paths.
Do not assume the default configuration is correct. Crowbar can work with several Source games, and the wrong selection may point to a different compiler or directory.
The Compiler Cannot Find an SMD or DMX File
Compare the filename in the QC with the actual exported file. Check spelling, spaces, capitalization, extensions, and folder location.
Windows may hide known extensions, which can leave a file named something like model.smd.smd without making the doubled extension obvious. Viewing full filenames can reveal this quickly.
The Model Compiles but Does Not Appear in SFM
Check the SFM model output path defined by $modelname. Confirm that the compiled files are inside a models folder belonging to content SFM can see.
Make sure the MDL has its VVD and VTX companions. If the model browser still shows an old version, restart the relevant session or application and check for duplicate copies in other mounted content folders.
The Model Has Missing or Checkerboard Textures
Compare the Blender material name, VMT filename, $cdmaterials directory, and VTF reference inside the VMT. The material files must sit below an enabled materials folder, not beside the model under models.
Also check whether the VMT points to the texture without an unwanted file extension or absolute Windows path. This is a Source Filmmaker texture setup issue, not necessarily a failed model compile.
The Model Is Too Large, Too Small, or Rotated
Return to Blender, correct the size and orientation, and apply the transforms before exporting again. Check the object origin and the export scale used by Blender Source Tools.
A QC scale setting can adjust some models, but fixing the source scene usually gives you a cleaner, more predictable workflow—especially when the model includes a skeleton, attachments, or physics data.
Bones or Animations Look Broken
Inspect the skeleton hierarchy, bone names, exported sequences, and vertex weight limits. Normalize weights and remove unintended influences before making a new export.
Test more than the reference pose. Shoulders, elbows, wrists, hips, and knees often reveal weighting problems that are invisible while the character stands still.
If an animation fails but the reference mesh works, confirm that the sequence file uses the intended skeleton and that its name matches the QC exactly.
Collision or Physics Does Not Work
Use a simple, clean collision mesh rather than the full visual model. Check that its size and position match the visible asset and that the QC points to the correct file.
Confirm that the compile generated the expected PHY data when your setup requires it. Remember that not every SFM prop needs interactive physics, so add collision only when it serves the model’s intended use.
How to Test a Compiled SFM Model Properly
A clean compile log is helpful, but visual and functional testing is what tells you whether the asset is ready.
Test in HLMV
Open the model in Half-Life Model Viewer, commonly called HLMV. Rotate it from several angles and look for missing faces, stretched vertices, bad normals, incorrect scale, or material problems.
Check every feature the model includes:
- skins;
- bodygroups;
- animation sequences;
- bones;
- attachments;
- facial flexes;
- levels of detail; and
- collision data.
HLMV is useful because it lets you inspect model-specific features without building a full SFM shot first.
Test Inside Source Filmmaker
Load the model into a clean SFM session. Pose it, light it, move the camera closer and farther away, and test the features you expect to use in a real scene.
Characters should be checked around difficult joints and facial areas. Props should be checked for size, orientation, attachments, material response, and any required collision behavior.
A model that looks correct in HLMV can still reveal workflow issues in SFM, so use both tests before distributing the asset.
Beginner Tips for a Cleaner SFM Compile Workflow
- Start with a one-material static prop before attempting a fully rigged character.
- Add advanced QC features one at a time.
- Keep a backup of the last QC and export that compiled correctly.
- Use clear filenames for reference meshes, animations, and collision data.
- Recompile after one meaningful change so you know what fixed or broke the model.
- Save old logs when tracking a difficult SFM compile error.
- Keep source files separate from compiled game files.
- Use another model’s QC only as a structural reference and remove commands your asset does not need.
- Respect the original creator’s rights before decompiling or modifying an existing model.
- Never ignore an unexplained warning simply because the output files appeared.
SFM Compile Checklist
- The mesh is clean, correctly oriented, and set to the intended scale.
- Transforms, normals, UVs, and material names have been checked.
- Character bone weights and the skeleton have been tested.
- The reference mesh was exported as a valid SMD or DMX file.
- Animation and collision files use the names written in the QC.
- VMT and VTF files are in the correct material folder.
$modelname,$cdmaterials, and other QC paths are accurate.- Crowbar is configured for Source Filmmaker.
- The compile log contains no unresolved critical error.
- MDL, VVD, VTX, and optional PHY files were generated.
- The model has been inspected in HLMV and tested inside SFM.
What Does SFM Compile Mean?
SFM compile means converting editable model source data into the game-ready files that Source Filmmaker can load. StudioMDL reads a QC file along with SMD or DMX source assets and produces an MDL plus the required companion files.
The term does not normally mean rendering an SFM animation into a movie. Model compiling creates an asset. Movie exporting creates the final visual output from a scene.
In simple terms, Blender gives you the editable model, the QC explains how it should be built, StudioMDL compiles it, and SFM uses the result.
How to Make an SFM Model?
Start by creating or preparing the geometry in Blender. UV-map it, assign clear material names, and add a skeleton and bone weights if the model needs to pose or animate.
Next, use Blender Source Tools to export the mesh and animation data as SMD or DMX files. Convert the textures into VTF files, create matching VMT materials, and write a QC that defines the output model, source mesh, material path, and sequences.
Compile the QC through Crowbar using the Source Filmmaker game setup. After StudioMDL creates the model files, test them in HLMV and SFM. Correct any geometry, rigging, material, or path problems in the appropriate source file and compile again.
For a first project, a simple prop is the best place to learn. A character adds bone weighting, animation, facial controls, bodygroups, and other features that make troubleshooting more involved.
Is SFM Harder Than Blender?
SFM and Blender are designed for different jobs, so neither is simply harder in every situation.
Blender has a much wider toolset for modeling, sculpting, UV mapping, materials, rigging, animation, simulation, and rendering. Learning the entire application takes time, but you only need a small part of it to prepare a basic custom SFM model.
Source Filmmaker has a narrower filmmaking workflow, yet its older Source Engine asset pipeline can feel difficult to beginners. Folder mounting, QC instructions, material paths, several companion file types, and StudioMDL errors are not always intuitive.
A practical approach is to learn only the Blender tasks your current SFM project requires. Begin with mesh cleanup, transforms, materials, and SMD or DMX export. Add rigging and advanced Source features later.
How Do I Export a Model From SFM?
Source Filmmaker does not normally export a loaded compiled model as a complete, original Blender project. The model in SFM is already a compiled Source asset, so the best option is to return to the original Blender, SMD, or DMX source files whenever they are available.
If you have permission to edit the asset but only possess the compiled files, Crowbar can often decompile an MDL model into source files that can be imported into a compatible 3D workflow. Decompilation is not a perfect reversal. Some original project structure, naming, modifiers, material setup, or rigging information may not be recovered exactly as the creator built it.
SFM can also export rendered movies, image sequences, and certain session or animation data through separate workflows. Those options do not reconstruct the model’s original editable geometry.
Only decompile or modify models you created, assets whose license allows it, or files for which the creator has given you permission.
